Tuesday, April 22, 2014

DIY baseball hat

{We've moved! Visit us at our new and improved blog at: Texas Craft House}

Tomorrow my kindergarten class has a field trip. Most of the day is going to be outside and it's suppose to be upper 80s for temperatures. I wanted something so my face wouldn't burn, but also cute and representative of my school.
I found a standard trucker/baseball hat for $3.30 to match my school colors and   a white paint pen for letters.  I also used a piece of chalk from my craft room to practice my letters/spacing and to trace over with my paint pen.
I think it turned out cute. In the bottom corner I put my school initials and kinder for kibdergarten.  This hat had a strap in back instead of those little snapping buttons so I also wrote my last name. I used a paper towel as support when writing. When the paint dries I'll just use a wet napkin to wipe away the chalk.
I plan on using this hat on future field trips and even field day coming up. It was easy to do and the chalking before helped me because I could  practice and erase my mistakes if needed.
Check back for more creativity soon!
Cassie

Sunday, April 20, 2014

DIY Baseball Nail Art

{We've moved! Visit us at our new and improved blog at: Texas Craft House}

Hi!
It's Rangers season here in Texas. Elisabeth and I love going to the games and sporting our fan gear.
My sister and I went to get manicures and I wanted baseball nails. The nail salon was packed! Instead we went and bought some nail polish and did it ourselves. I used Essie nail colors along with a base coat and a top coat. I did the baseball stitches with a red permanent marker. It was so simple, the Sharpe made it effortless and easy to do. I love how they turned out.
I cant wait to think up more nail art ideas... the marker is the way to go! Have you seen Aztec nail art? That might be my next project... maybe on an accent nail only.
Have a Happy Easter! Go Rangers!
Check back for more creativity!
Cassie

Wednesday, November 27, 2013

Easy red poinsettia wreath

{We've moved! Visit us at our new and improved blog at: Texas Craft House}

Good morning!

I was looking around on pinterest for Christmas mantel ideas and I kept seeing that everyone would put wreath's above their fireplace. Most of them had it attached to a mirror. I already had a mirror and thought I would add a wreath. I decided immediately that I wanted a bold red wreath... what better to do then a poinsettia one?

I started with a basic wreath form. Mine is 18 inches. I used the twig one with the dried leaves (watch out it crumbles everywhere and can make a mess :) ). I also bought 3 bunches of poinsettia flowers, which were 50% off. On each flower bunch was about 10 flowers. I also grabbed my hot glue gun but actually didn't even end up using it.


Start by cutting off all of the flowers.


Then just start poking them right into the wreath. The twigs in my wreath were pretty tight and my poinsettias stayed in place so I didn't use the hot glue gun. I figured that would be fine since this was going to be an inside wreath.


That's it!


I used a command clip to attach it to my mirror.


I love the pop of red!

I'm not quite finished with my mantel yet. I am working on homemade stocking holders (post to come soon!) to add. :) Have I mentioned I LOVE Christmas crafts?

Like the green burlap trees? Here is my post from earlier in the week with the tutorial - DIY Christmas tree craft.

Check back for more creativity soon!
Cassie

Sunday, November 24, 2013

DIY Cupcake Onsies

{We've moved! Visit us at our new and improved blog at: Texas Craft House}


A couple of coworkers recently had a baby and several of us wanted to get something to congratulate them on their babies. One of my girlfriends saw the cutest idea to turn onsies into cupcakes here. We went to Target and bought their Circo brand onsies, which were on Target Cartwheel for an additional 20% off savings! We ended up with 12 onsies and 12 pairs of socks for the gift.

{Texas Craft House}  Cupcake onsies tutorial to give as a baby shower gift, so adorable!

To Continue Reading Click Here...

DIY Lantern Light

{We've moved! Visit us at our new and improved blog at: Texas Craft House}

I love the beach! So I decorated one of my spare bedrooms in a beach theme and I had the hardest time finding the right light for the bedside. Granted today the beach theme is very popular and there are very cute light options out there now that I would have purchased had the options been available. Since things weren't available, I decided that I wanted to make my own light after finding the Morkt Lantern at IKEA that perfectly matched the color scheme in the room.

{Texas Craft House} IKEA Hack: Morkt Lantern Turned into a Bedside Light

To Continue Reading Click Here...

DIY Master Bath Toilet Room Makeover

{We've moved! Visit us at our new and improved blog at: Texas Craft House}

Check out this quick and easy way I made over the toilet room in my master bath on our new blog!!


{Texas Craft House} Master Bath Toilet Room Makeover

  To continue reading click here...

How To Get Wax Out of Furniture

{We've moved! Visit us at our new and improved blog at: Texas Craft House}


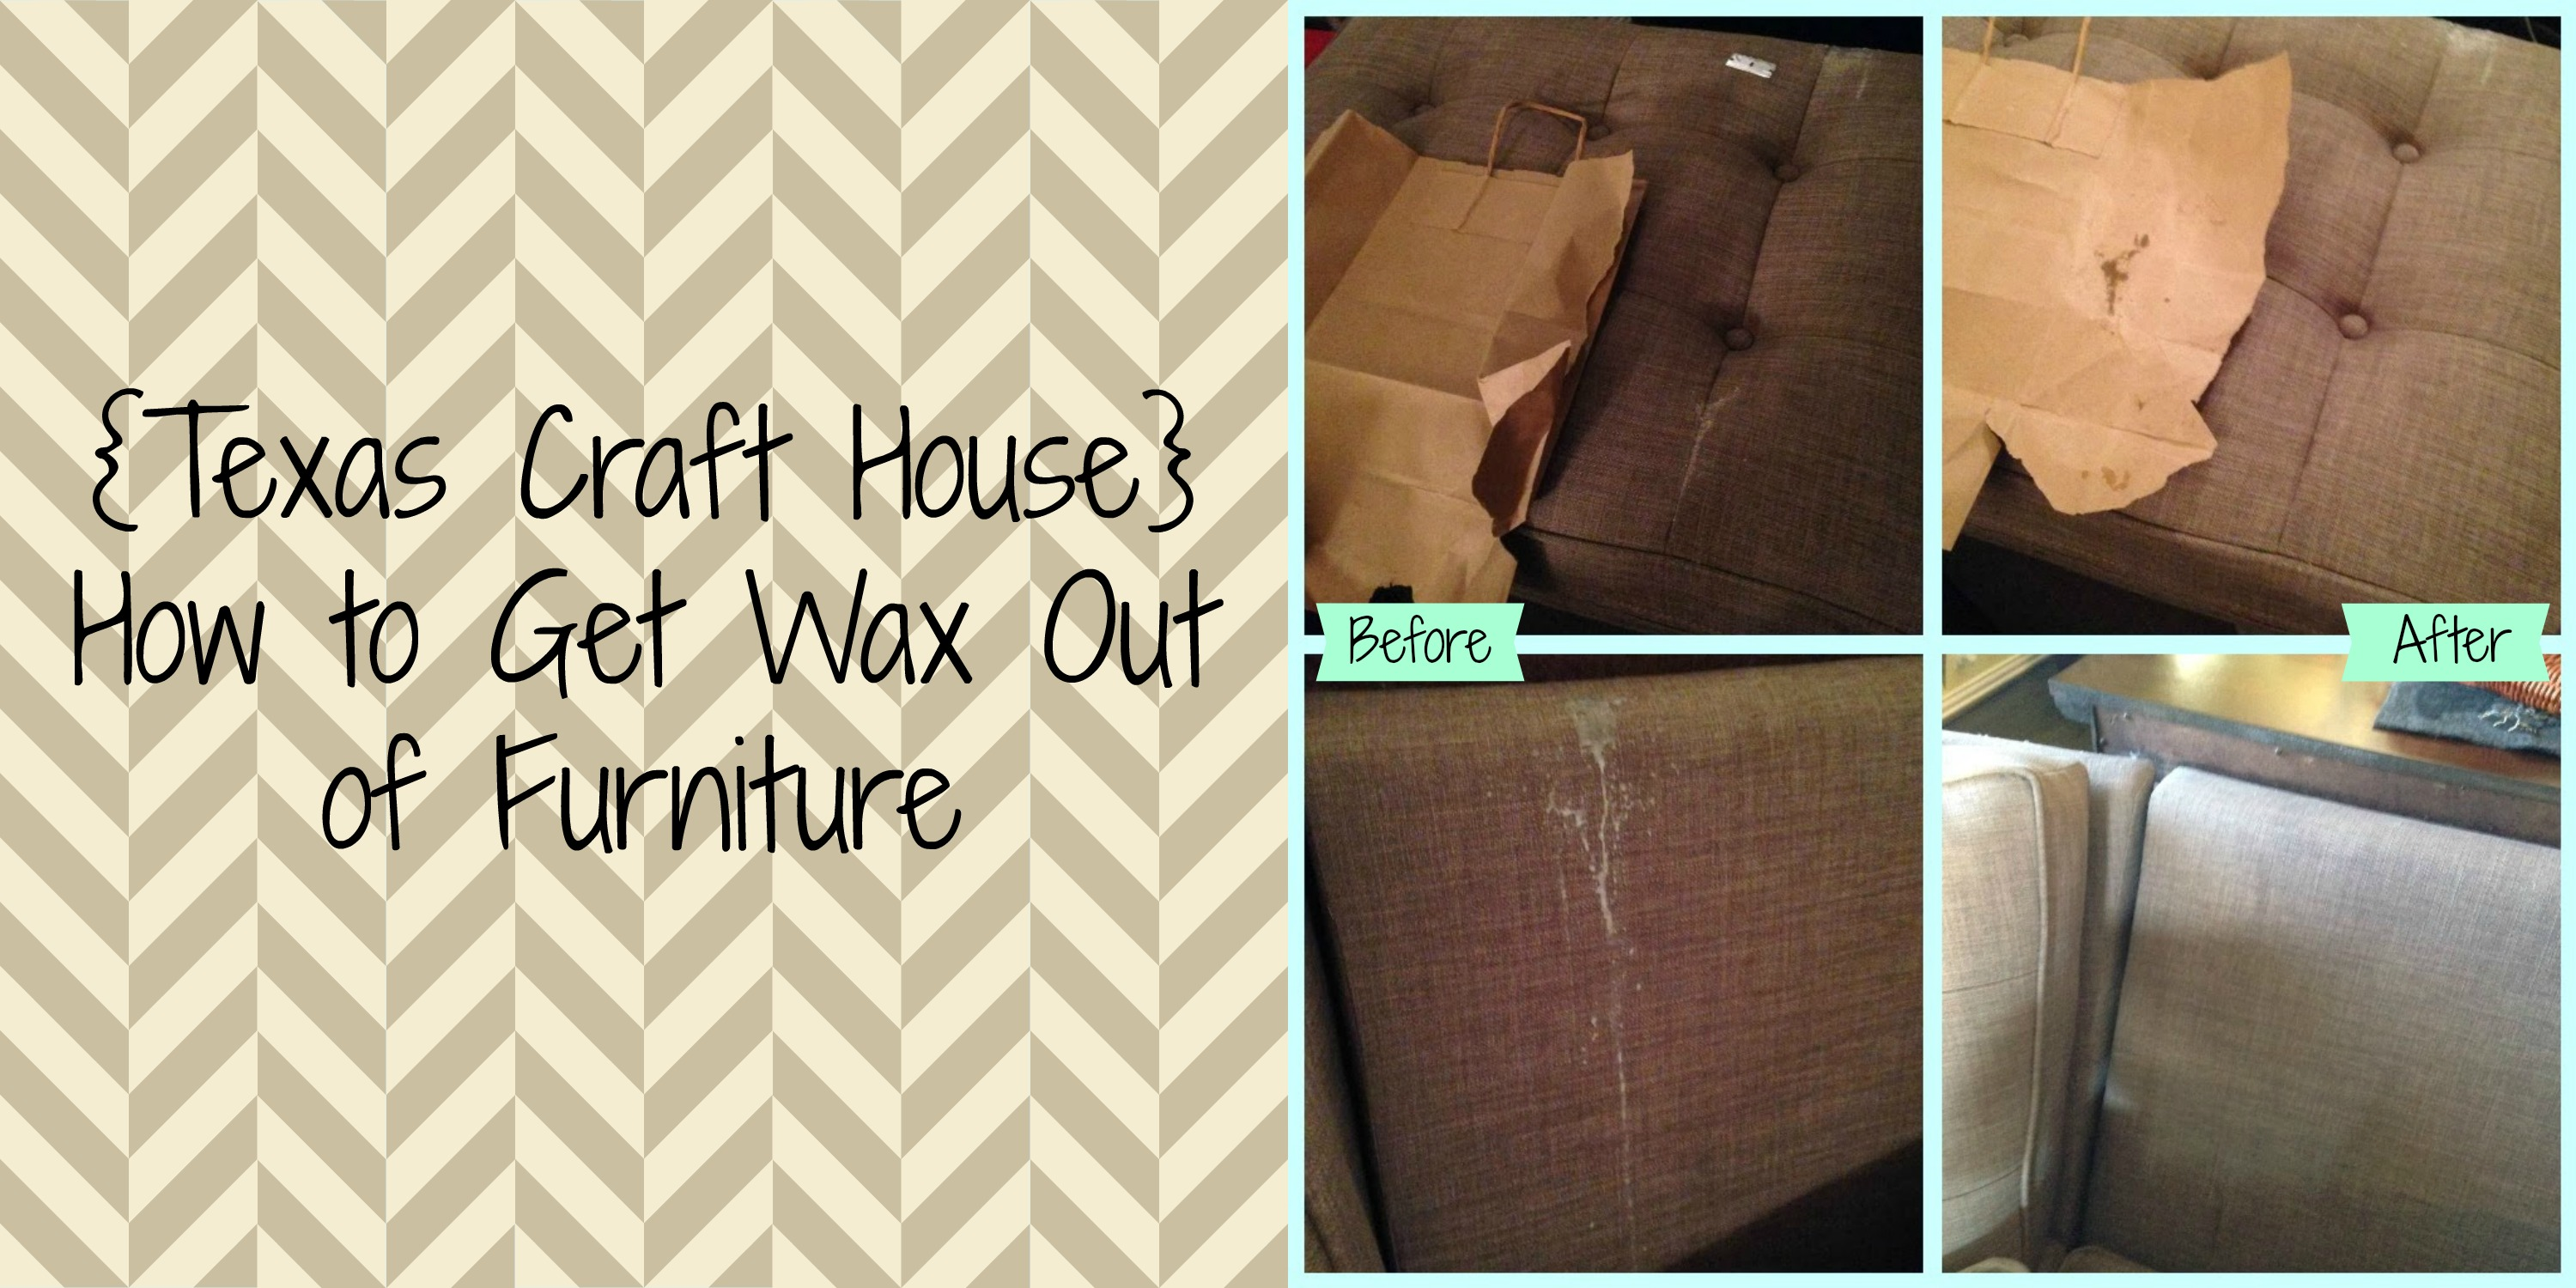
So the other night, Hubby was playing with our cat, Tobias, when the worst happened. They knocked over a burning candle all over my new couch! There was wax all over it, needless to say, I was extremely upset and never thought the wax would come out. I started to search ways to get wax out of furniture and found several different ideas. I figured what could it hurt to try some of these. The very first how-to I used worked! All you will need is a paper bag and an iron!

{Texas Craft House} How to get wax out of furniture

To Continue Reading Click Here...